
What is going on? Why don't my prints look good?
If you've ever asked these questions, and your prints turned out a little less-great than you were hoping for (and you’ve already done the other 1052 things the pros recommend to get your print settings correct) theres a very good chance that your Filaflex has absorbed moisture *gasp*- both shocking and tragic.
No worries
Too much moisture is a simple fix (and far as things that can go wrong its one of the easiest things to remedy).
Before jumping in to the instructions, you might be wondering if moisture is the problem.
The best tell-tale sign of moisture in the filament is the dreaded popping and hissing sounds of the moisture escaping from the molten filament during printing.
What if I'm not experiencing popping/hissing sounds?
If you’re not experiencing either of these signs, but you’ve tried everything else and want to give drying the filament a shot- go for it. Removing moisture from filament is one of the easiest places to start and a lot faster than most tweaking or repairs.
Other symptoms of moisture affecting Flexible material include uneven lines or uneven/odd/strange surface texture, or a surface with noticeable pores.
I know what you’re thinking- Why? 3D print his complicated enough- why would I want to add another step to go through before printing?
Have a gander at the picture below and notice the difference a little moisture in the filament makes:

Properly dried material makes a big difference. And it's one of the biggest reasons many people get discouraged with their printing.
But that doesn’t have to be you. You’re reading an article written to help you avoid the pitfall of moist filament. You don’t have to be another wet-filament victim. (Too many puns?)
I’ve got another picture for you! It's a graph displaying the moisture absorption rates in different atmospheres (think a normal room in your house vs. a tree house in the jungle):

Case Study 1:
In Line 1 the material rises in moisture content from 0% to 0.8% in just 4 hours
Case Study 2:
In line 2 the moisture content rises from 0% to 0.28% in 8 hours time.
Conclusion:
If you want the best results possible- dry filament is a must.
How to Instructions:
So how do you do it? Initially brand new Filaflex will arrive in optimal condition for printing (as their strict manufacturing process demands). However over time it will become necessary to dry the filament before each use for absolute best results.
There are a few different ways to dry filament, each with pros and cons:
Profesional Filament Dryer
You can easily find many options ready to buy online for a streamlined drying process. The pros for this type of system
- Easy, and quick set up
- Simple to use for beginners and professional set ups
- Streamlined look and process
- Maintains a steady temperature for ideal results
These specially designed options are able to maintain lower and more accurate temperatures of 50C for 4 hours or more to completely dry the filament with out risking damage or over-drying.
Food Dehydrator
A large food dehydrator is the best choice if you don't have an oven large enough to hold the spool and don't want to purchase a stand alone filament dryer (although I wouldn't recommend using this for food items after drying plastics with it). A large capacity food dehydrator is a must and it should do a very good job of drying the material set to 50C for approximately 4 hours.
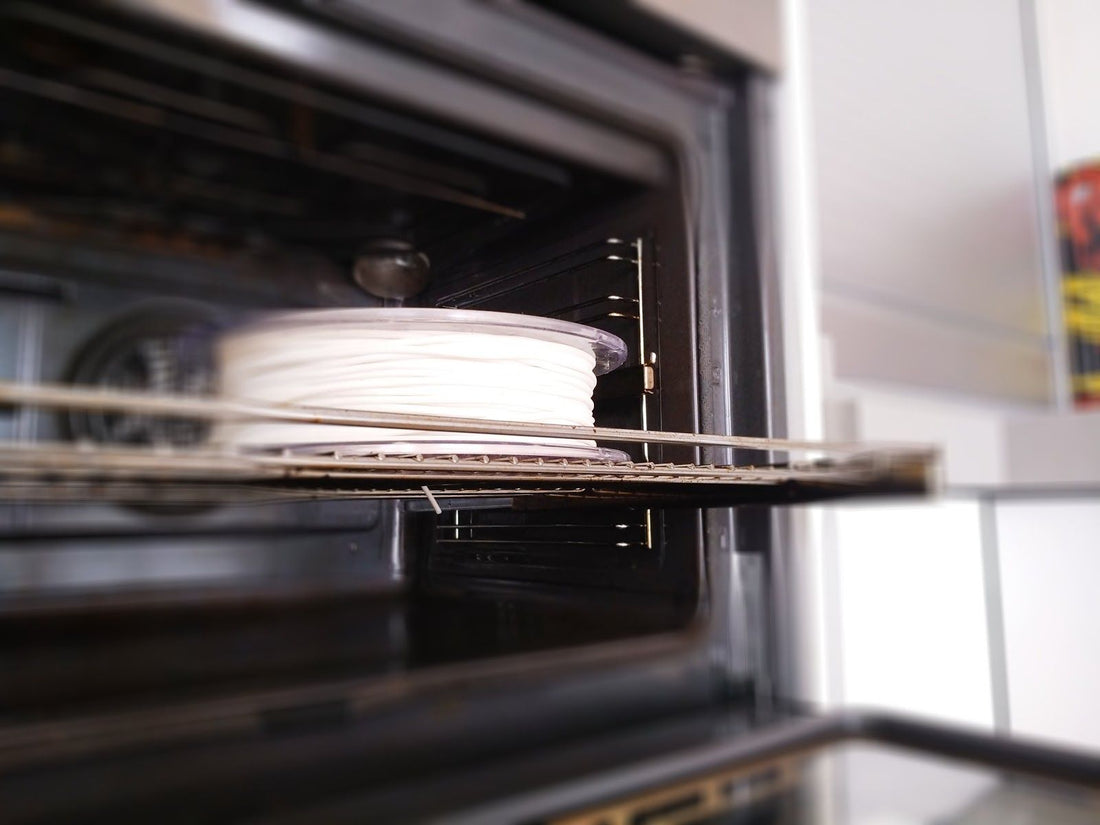
Toster Oven / Conventional Oven
This is the easiest and most convent way to dry filaments, especially at home for personal use. For best results set the oven to convection bake (fan mode) to 50C and dry filament for 3 hours and then test print to make sure the filament has been dried fully.
The most important part with this method is to make sure the oven reaches 50C before placing the filament inside. If you put the filament in while still warming it could cause the material to become molten and fuse parts of the strands together.

Have you used these methods to dry your filaments? Let us know - we’d love to hear form you. Or send us your questions, we are always happy to help got you better printing results.
Disclamer:
We do need to say we provide all of this information in good faith that these methods and practices work well for us but we are not responsible for any misuse on the users end. What you do and how you do it is the sole responsibility of the practitioner (the person who does it).
If you enjoyed this article you might also like the original article from Recreus linked here.
Photos curtesy of Recreus.